Ten years ago, who would have dreamed that precise measurements could be applied to moveable soft tissue to create dentures with a superior fit? Back then, dentures were crafted by hand using the same process used for over 100 years. The dental profession has certainly come a long way in a short period of time.
Why 3D Printed Dentures Have Become More Popular
Rapid technological advances have allowed dentures to be manufactured to exacting standards in less time, eliminating multiple error-prone steps common to making dentures by hand.
The benefits of printed dentures to dentists include: eliminating costly, messy, time-consuming impression materials from your practice; the ability to order a 3D mock-up for try-in; and greatly reduced adjustment time at delivery, saving valuable chair time.
Patients love 3D dentures because they aren’t tortured by impressions, and it typically takes less time to receive their dentures. Also, they don’t need to come back to the dental office multiple times for follow-up adjustments.
With all of these benefits, it is no surprise that 3D printed dentures are a popular tooth replacement choice for dentists and patients.
9 Steps to Craft 3D Printed Dentures in a Dental Lab
To learn about the process of manufacturing 3D printed dentures in greater detail, watch Stomadent’s 3D process.
Step 1 – Create Dentures Virtually
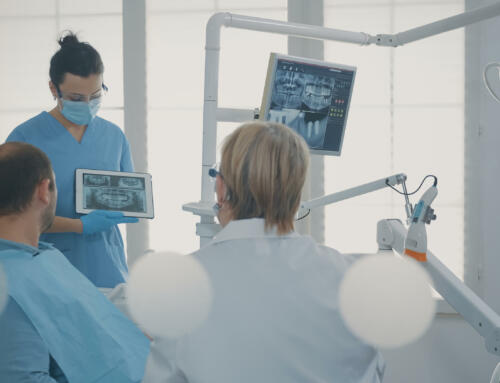
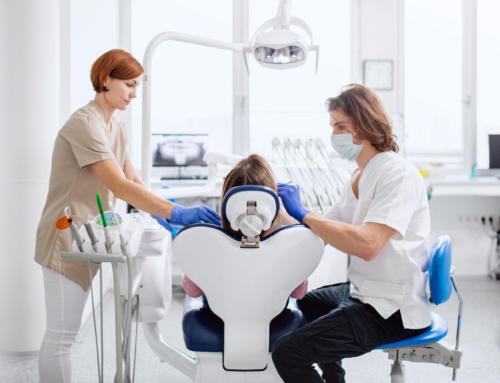
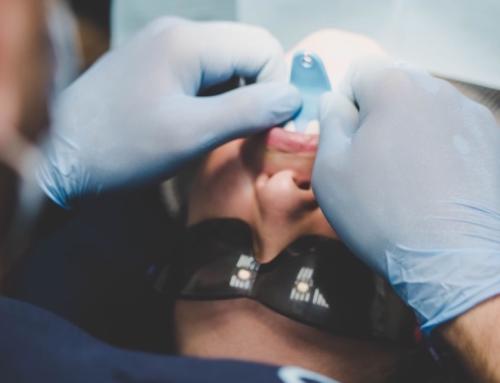
The clinician uses a chairside scanner to capture the patient’s anatomy in all dimensions. The captured images are saved into files for electronic transfer to the lab. Alternatively, the clinician may send physical impressions and a bite registration to the denture lab.
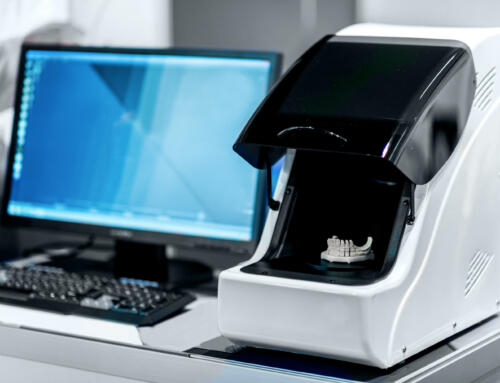
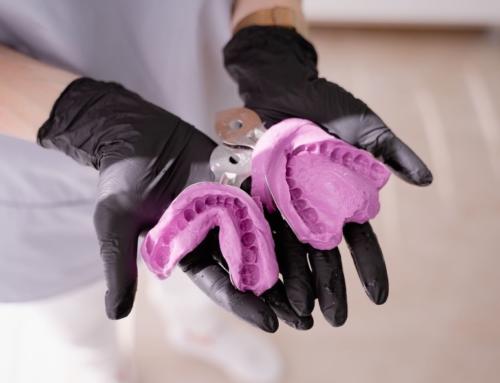
The laboratory then scans the impressions to create virtual impressions. Sophisticated CAD/CAM software is used to create virtually completed dentures based on the impression files.
Step 2 – Determine Manufacturing Parameters
Because denture baseplates are a shade of pink and denture teeth are made from a tooth-colored material chosen by the clinician, baseplates and denture teeth are printed in two different passes through the same manufacturing process.
Computer software orients the virtual denture base images of both upper and lower arches into their vertical positions to reduce the number of sprues (or supports) necessary to remove from the final product. The finished baseplates are designed to have a uniform thickness throughout.
Computer software breaks down the build of the baseplates into thin slices. The thinner the slices, the more precise the fit of the denture. While thinner slices are better, they do increase the time it takes to produce dentures exponentially. A balance of slice thickness and time is chosen to produce dentures with the best results within a reasonable period of time. Typically, it takes between 1 and 2 hours to simultaneously print upper and lower baseplates. It takes a similar amount of time to print the companion teeth.
Step 3 – 3D Printing
After the manufacturing parameters have been established, the printer build plate is dipped into a vessel of liquid polymethylmethacrylate resin, and the incremental build begins.
The Asiga Max 3D Printer uses UV light to harden resin incrementally until the finished virtual design becomes a physical reality. The cured denture baseplates, with supports intact, are removed from the instrument’s build plate using a metal scraper.
Step 4 – Cleansing
Baseplates with their supports intact are transferred to a bath of isopropyl alcohol to remove other alcohols generated during the printing process. The entire bath is placed into an ultrasonic unit for 5 minutes. The process is repeated once again, using a clean bath of isopropyl alcohol.
Step 5 – Post-Production
Supports are removed, and the remaining sprue junctions are smoothed with a Scotch Brite wheel on a rotary handpiece. The baseplates are set aside.
Step 6 – Denture Teeth
Steps 2 through 4 are repeated, using the selected tooth-colored material, to manufacture precise-fitting teeth that will be married with the completed baseplates. Virtual teeth are oriented to print with their occlusal surfaces toward the printer’s build plate, thereby eliminating the presence of supports from the gingival surfaces of completed teeth.
Like the baseplates, teeth for both upper and lower arches are printed at the same time with all of the teeth from each arch connected as a single unit.
Step 7 – Join Components
The denture technician adds liquid baseplate resin to each tooth socket within the baseplates. Then the cleaned teeth, with supports intact, are placed into the sockets. A fine brush is used to fill the spaces between the teeth and baseplate with liquid resin.
Both prostheses are placed into a UV curing unit for 30 seconds to unify the teeth with their respective baseplates. The sprues are removed from the teeth. Again, a Scotch Brite wheel is used to remove excess support material.
Step 8 – Curing the Resin
Both dentures are put into a 60⁰ C (140⁰ F) bath of glycerin. The entire bath is placed into the UV curing unit for 10 minutes. Dentures are flipped in the bath and cured for 10 minutes longer.
Step 9 – Final Polishing
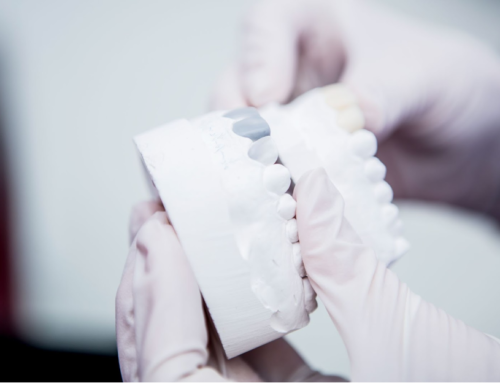
The technician smooths and trims any imperfections from the dentures and will perform a final polishing in preparation for the 3D printed dentures to be delivered to your patient.
Trust A Leader
Stomadent Dental Laboratory was one of the first denture labs in the US to invest in the technology and has remained at the forefront of 3D printed dentures for a number of years. We have thousands of successful cases under our belt. You don’t have time for mistakes. When it comes to incorporating this technology into your practice, partner with a lab with the experience to produce excellent dentures that will gain you rave reviews. Partner with Stomadent!
Related Posts
![The Lucitone Denture Advantage [Best Practices + Advice]](https://stomadentlab.com/wp-content/uploads/2022/08/lucitone-promo-1-500x383.jpg)


Request a FREE Dental Lab Kit