By David Hudnall, DMD
For as long as prosthetic dentistry has existed, dental impressions have been frustrating for everyone involved. Dentists hate them because they eat up valuable chair time. Even if you do everything correctly, you are at the mercy of the patient and their ability to cooperate with the procedure. Many patients will flat-out tell you that they hate impressions because taking them feels very invasive, and patients often experience a loss of control.
Although digital impressions are one way to circumvent traditional impression methods, many of the same isolation and retraction techniques still apply. Dental impression errors, whether physical or digital, can ruin the lab’s ability to fabricate a quality, aesthetically-pleasing restoration.
6 Dental Impression Errors to Avoid
The longevity and usefulness of your final restoration is reliant on obtaining a high-quality impression that accurately reproduces an image of the patient’s anatomy. If we understand how critical a good impression is, why do we still send subpar impressions to the dental lab and expect the technician to perform miracles? Let’s discuss some of the more common dental impression errors laboratory technicians see and what to do to avoid them.
Poor Tray Selection
For an accurate impression, the tray selected must be sufficiently large enough to capture all necessary information without distortion. The resulting impression should be of uniform thickness to prevent the tray from contacting the sides of the soft tissue and showing through the impression material itself.
Choose a long enough tray to capture the entire arch and wide enough to allow for adequate tray seating. Metal trays may be modified in the posterior regions, but modifications to the anterior portion of metal trays are difficult. Plastic trays are easier to modify by using a flame to heat the plastic and adapting the flanges to accommodate the patient’s anatomy. If necessary, the molding compound may be heated and added to either type of tray to increase its depth.
Unset Material within the Impression
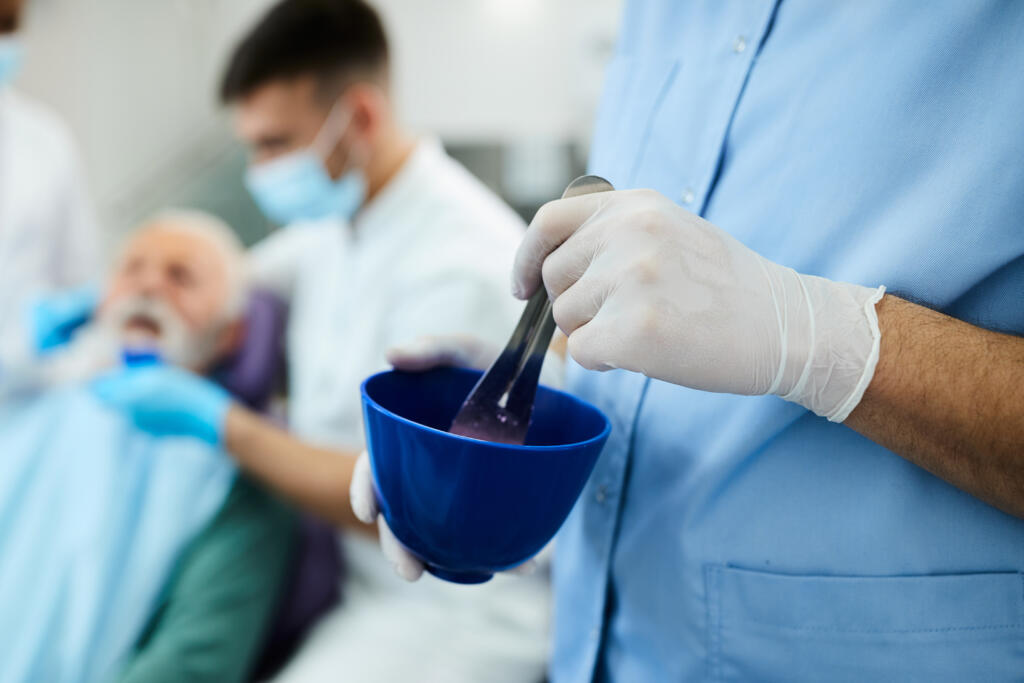
Regardless of the type of material used, any impression material will not set completely if it is not mixed according to the manufacturer’s recommendations. Correctly mixed impression material has a uniform color and consistency without any streaks or pockets of material that are not fully combined.
Two-part impression materials rely on one of the components to catalyze the reaction. Shorting one of the components or having air in the dispensing tube yields an impression with unpredictable results. Companion wash materials are produced using the same chemistry as the base impression material and are specifically designed to work in tandem. Combining materials from different manufacturers or impression chemistries often leads to separating the two impression material layers, rendering the final impression useless.
Poor Margin Detail and Marginal Tears
The most important aspect of any impression are the fine details that indicate exactly where the restoration should end. The absence of clear delineation of details is the bane of any lab tech’s existence and leaves the fit of the final restoration up to chance. Will the crown fit, or won’t it? Many typical margin errors are completely avoidable with the use of a double retraction cord and hemostatic agents to reduce fluid accumulation.
Low-viscosity wash material is great for capturing fine details. However, when it forms a thin edge, it often doesn’t possess enough tear strength to prevent it from ripping as the impression is removed from the mouth. Consider using an additional tissue retraction cord to widen the sulcus, thereby increasing the thickness of the wash material. Another option to prevent marginal tears is to work with an impression system that offers greater viscosity.
Internal Bubbles
Moisture trapped between the impression material and the patient’s anatomy is a source for bubbles present in the final impression. Bubbles will affect the luting agent, which increases the space to be filled and, in turn, creates a thin area within the restoration. Thin areas in restorations are particularly an issue when fabricating all-ceramic materials, where a minimum thickness is crucial to ensure the stability and longevity of the crown. This problem is solved by proper isolation, hemostasis, and air drying just prior to capturing the impression.
Rushing the Impression
Ever remove an impression from a patient’s mouth and discover the material is still soft? It’s happened to every clinician at one time or another. Attempting to skip steps or rush through an impression causes distortions in the impression material that leads to a distorted restoration.
It is crucial to take your time to make sure all of the little details are correct. Ensure that the packing cord completely uncovers the margins and that soft tissue is sufficiently retracted. Rather than testing by feel, use a timer to ensure you have allowed enough time for the impression material to be completely set.
Patient Movement
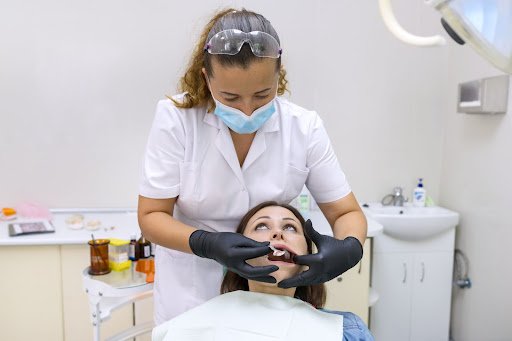
Dental impressions can easily distort if the patient fidgets or gags. Patient movement is one factor that the dentist has the least amount of control over, as some patients are convinced that they will be unable to breathe before the impression tray is ever selected.
Distracting the patient is usually the best recourse. Have them concentrate on wiggling their toes. Help the patient to exercise slow breathing techniques through their nose. Engage them in a story that distracts them, making them less likely to notice any discomfort. Fearful patients are truly an instance where having the option to perform a scanned impression allows you to obtain the necessary detail without traumatizing your patient with an all-encompassing impression tray full of goop.
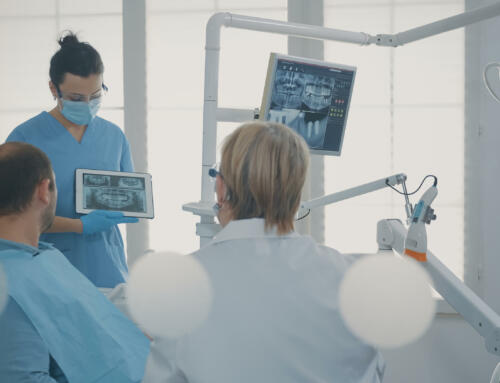
Digital Impressions: A Tool for Avoiding Errors
The days of taking error-prone physical impressions and shipping them to the lab can be a thing of the past. Stomadent Dental Laboratory is set up to accept your digital impressions, which benefits both you and your patients by saving time, reducing errors, and streamlining the transfer and fabrication process.
If you are considering going digital, Stomadent’s exclusive deal with Aoralscan helps take the guesswork out of selecting a chairside digital scanner that easily integrates with Stomadent’s laboratory workflow. Your patients will appreciate the many benefits that impression-free dentistry has to offer!
Related Posts
![The Lucitone Denture Advantage [Best Practices + Advice]](https://stomadentlab.com/wp-content/uploads/2022/08/lucitone-promo-1-500x383.jpg)


Request a FREE Dental Lab Kit