By David Hudnall, DMD

Procedure, Cost, and More
How Does a Hard Denture Reline Procedure Work?
How do you perform a hard reline? First, determine whether a reline will help your patient. Then help your dental laboratory achieve the best results possible by obtaining the records they need to make the process run smoothly. Included here is a denture reline impression technique:
- Examine the bite, midline, and lip position with the existing dentures in place.
- Remove any deep undercuts that would prevent the dentures from being separated from a model.
- Adjust borders that are impinging on soft tissue.
- Work on one denture at a time, using the opposing denture to maintain the proper occlusion.
- Roughen the borders and the tissue side of the denture being relined with an acrylic bur.
- Create three tissue stops with modeling compound or heavy-body polyvinyl siloxane (one in the anterior and two in the second molar areas) to maintain the correct vertical dimension of occlusion (VOD).
- Insert the denture with warm compound or polyvinyl siloxane in place and have the patient bite into maximum intercuspation. Allow the material to set. Then remove the denture from the mouth.
- Adjust the tissue stops to remove any undercuts. Reinsert and check for stability, proper occlusion, and position as it relates to the anatomy and facial features.
- If the borders of the denture are short or inaccurate, border mold the denture in the mouth using compound or rope wax to extend the borders.
- Try the denture back into the mouth. Be certain the denture is fully seated and resting on the tissue stops. The denture must fit passively with the patient in occlusion.
- Dry the denture.
- Apply impression adhesive to the intaglio surface and borders.
- Add medium-body polyvinyl siloxane (PVS) impression material to evenly coat the inside of the denture and borders. Do not overfill.
- Align the denture and fully seat it until the denture rests entirely on the tissue stops.
- Have the patient close into maximum intercuspation.
- Check that the midline is in the correct position.
- Verify that the lip position is the same as it was at the initial examination.
- If the appearance or bite is not the same as what you observed at the initial examination in every way, allow the impression material to set completely, remove it, and start over.
- After the impression material has fully set, remove the denture from the mouth and trim away any excess impression material.
- Reinsert the denture with the impression.
- Repeat the process with the opposing denture.
Send the impressions with your written laboratory prescription for a hard reline to Stomadent Dental Laboratory for processing. Include any information about the baseplate material used to make the original denture, if available. This is especially important for dentures made from special resins, such as Eclipse.
How Much Does A Hard Reline Cost?
Stomadent offers laboratory-processed relines starting at $119 per denture. Processing time is one day. We offer same-day reline service within Idaho’s Treasure Valley area.
Please plan accordingly. Laboratory-processed relines require the patient to be without their dentures while the lab is working with them.


Why Choose Stomadent for Hard Relines?
Our denture technicians have the training, expertise, and the practical experience to extend the life of your patient’s old dentures by returning them as good as new, improving both their comfort and fit. Partner with us. Stomadent Dental Laboratory is your go-to source for your denture service needs!
Related Posts
![Hybrid Denture with Titanium Bar [Best Methods + Advantages]](https://stomadentlab.com/wp-content/uploads/2024/01/dental-prosthesis-on-dark-background-2023-11-27-05-06-28-utc-scaled-500x383.jpg)
![The Lucitone Denture Advantage [Best Practices + Advice]](https://stomadentlab.com/wp-content/uploads/2022/08/lucitone-promo-1-500x383.jpg)
![How to Remove Snap On Dentures [Expert Guidance]](https://stomadentlab.com/wp-content/uploads/2023/12/a-denture-in-a-glass-of-water-dental-prosthesis-c-2023-11-27-04-50-54-utc-scaled-500x383.jpg)


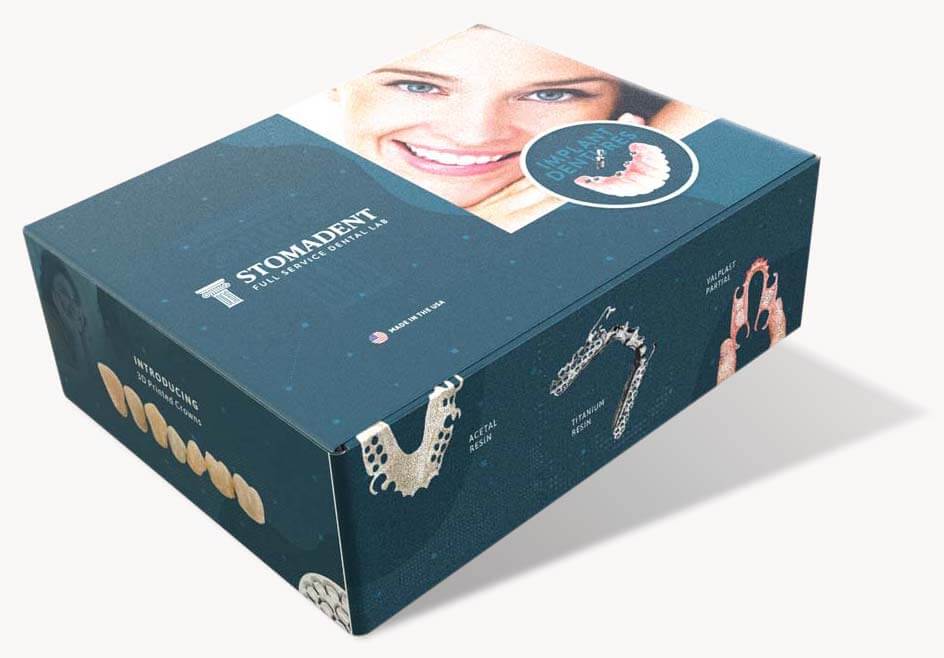
Request a FREE Dental Lab Kit